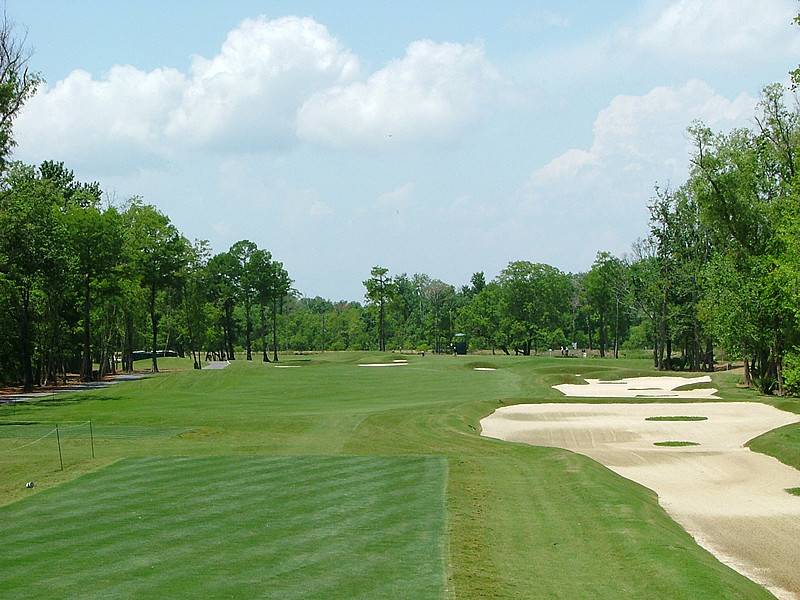
HOLE No. 10 390-YD. PAR 4 Tee shot view with waste area and bunkers right side to avoid to set up a good 'look' into the green.
Hole 10 • Second shot view — A fairway wood or iron is required. A well-executed tee shot will allow players to be aggressive with a wedge or short iron into this narrow but deep green.
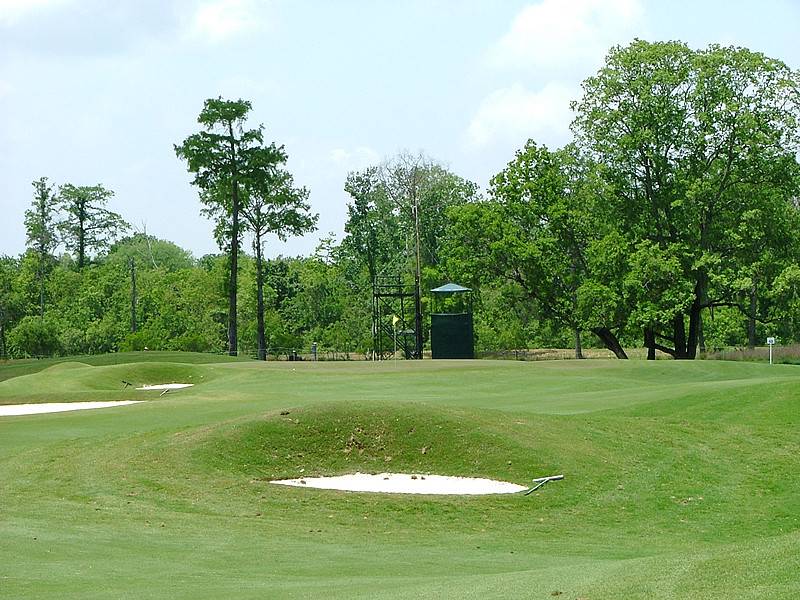
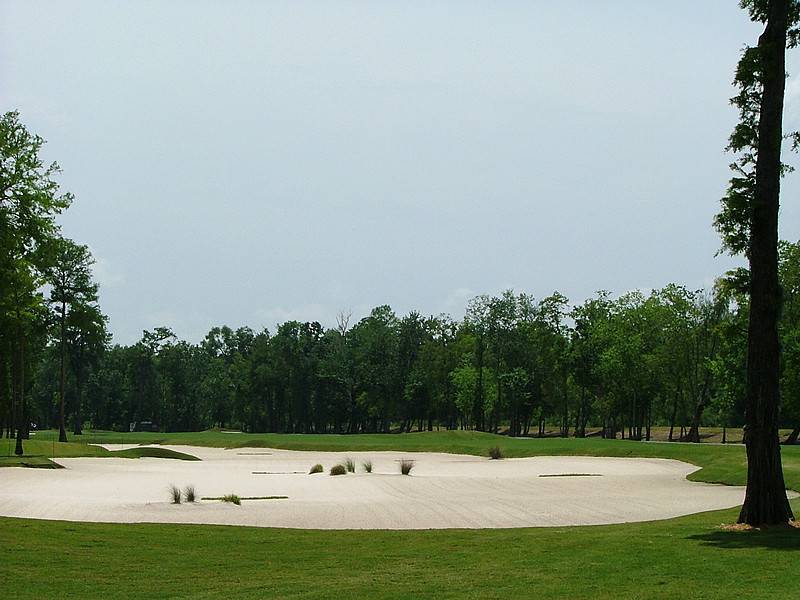
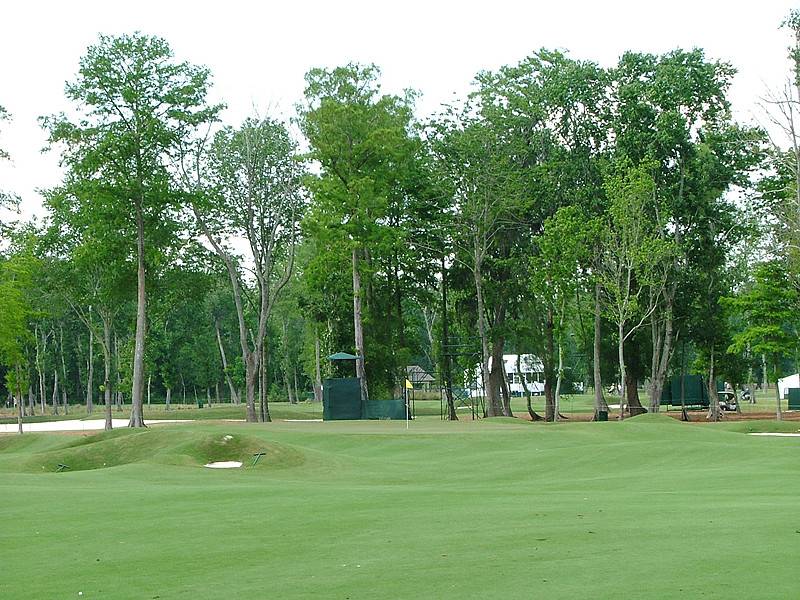
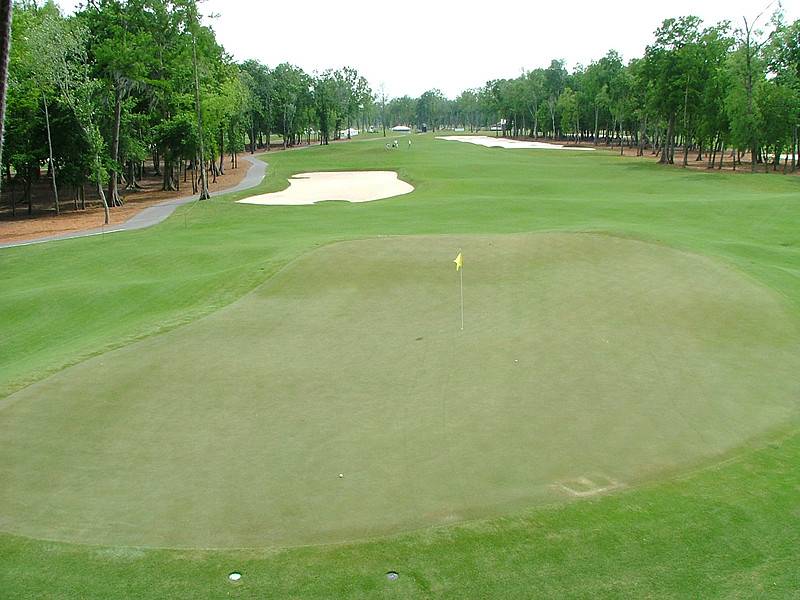
Hole 10 • Green — A look from above and behind the 10th green showing the Pete Dye mounding and slope to this narrow putting surface with plenty of shot values to the pro pin positions.
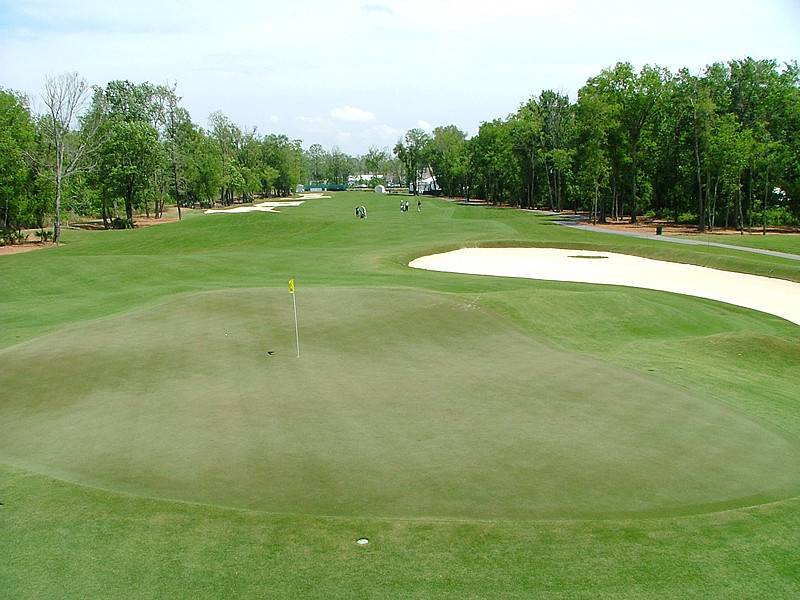
HOLE No. 11 • - 575-YD. PAR 5 Drive it over this waste area off the 11th tee box hopefully far enough on this long par 5, where decisions must be made. Going for the green in two requires the second shot to be maneuvered around the tall cypress tree in the middle of the fairway, a mere 80 yards from the green.
Hole 11 • second shot — Laying up on this hole is tricky as well. Make sure the layup is well to the right of the cypress so you will have an easier approach to a well-guarded, narrow green.

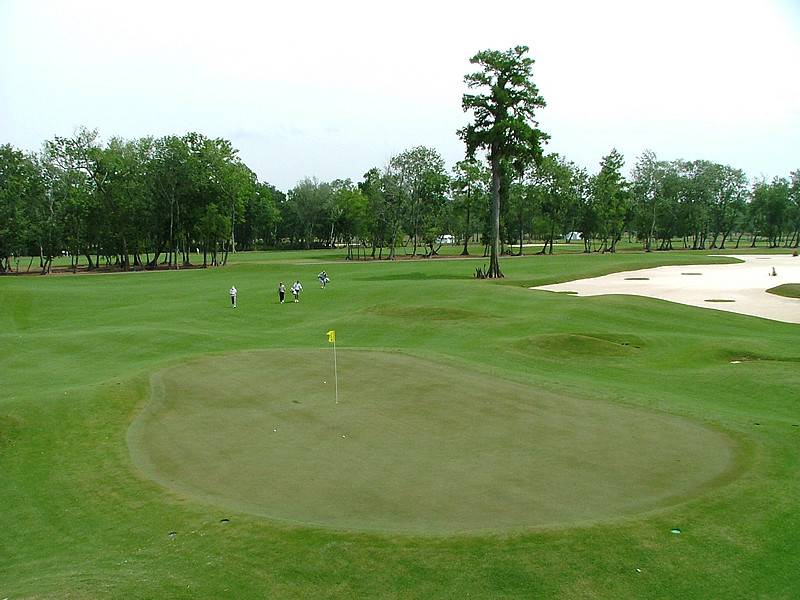
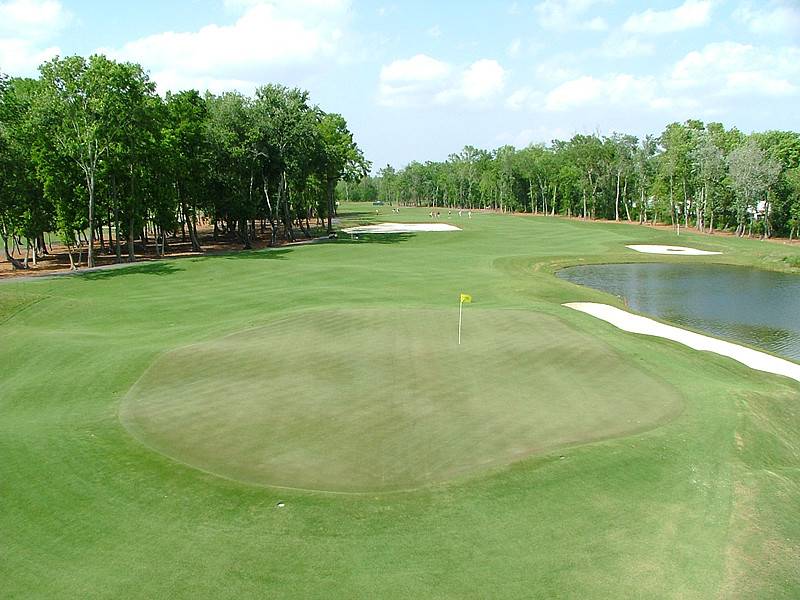
Hole 11 • Green — Here's the green view from above and behind on what is most commonly a three shotter par five hole where you can hopefully get a good third shot angle that might result in a birdie four.

HOLE 12 • - 486-YD. PAR 4 Perhaps the toughest hole on the golf course. The tee shot should be hit with a slight draw.
Hole 12 • Second shot - This will leave a long- to mid-iron into a green that requires a fade. A deep bunker is on the right, while a large chipping area dominates the left side of the big green.
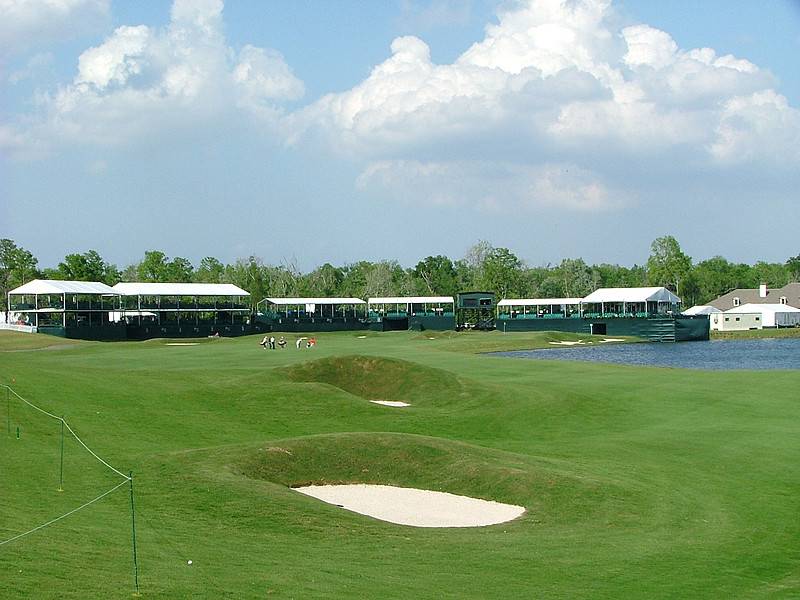
HOLE 13 • - 377-YD. PAR 4 A tricky, short par 4 that long hitters may try to press their luck with. But deep pot bunkers surround the green, so that is a dubious play with few eagles recorded here.
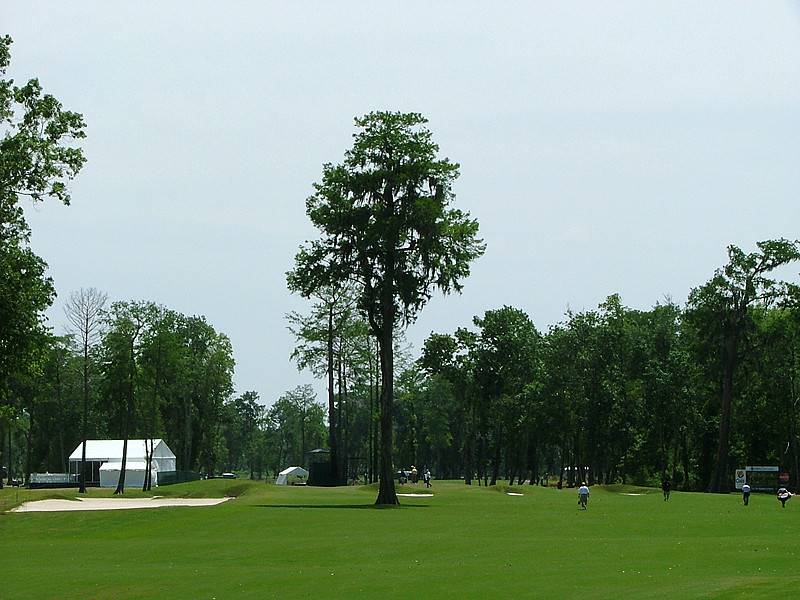
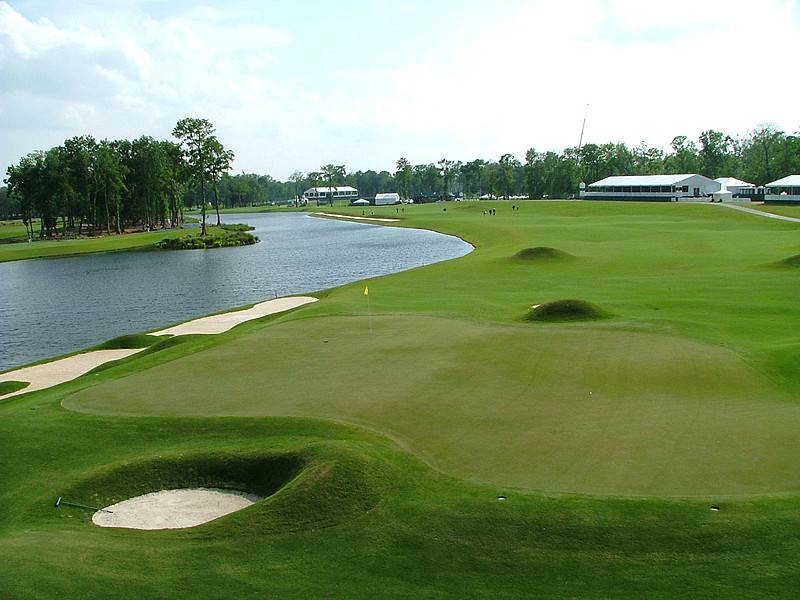
Hole 13 • Second shot — The better play here is a long iron to the right of the cypress tree to set up a wedge from this very angle and view into what should be a birdie hole.
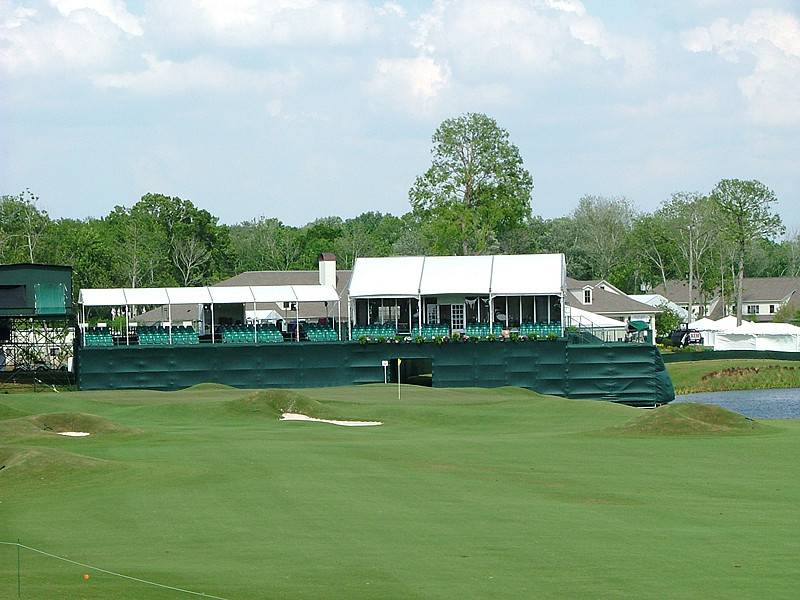
Hole 13 • Green - The 13th green is the smallest on the golf course with very subtle sloping which will challenge your green reading ability.
HOLE 14 • 192-YD. PAR 3 • - A straight forward par 3 golf hole, viewed from above and behind the 14th green in this picture looking back at the tee box, that requires a long iron shot. Different tee complexes can make this hole play as short as 155 yards.
HOLE 15 • 480-YD. PAR 4 • - Here is the tee shot view of what can be an extremely tough hole that can be pivotal in the tournament, it requires a solid tee shot that favors a slight draw.
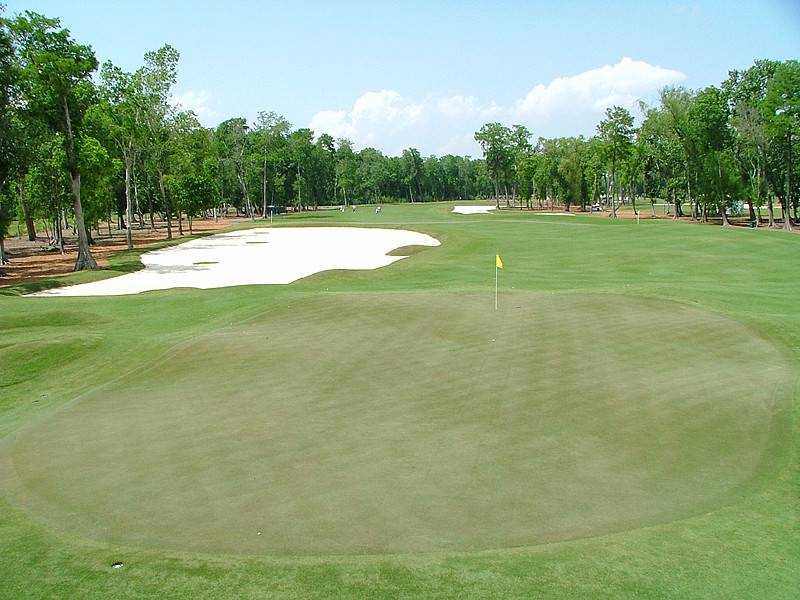
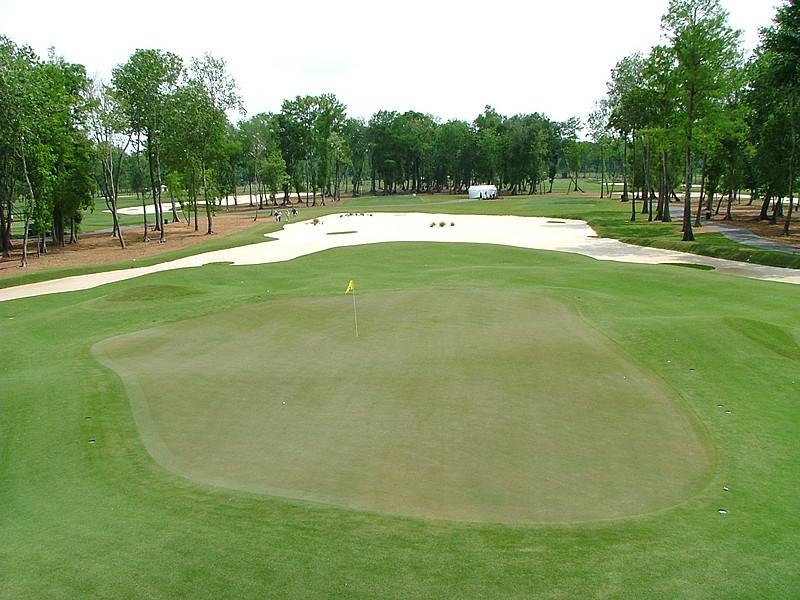
Hole 15 • Green — Second shot view of the green from behind the green. It's an elevated green. It's a narrow pin on the front with a deep bunkers on the front left all the way through the middle of the green with fall-offs back right and behind.
HOLE 16 • 348-YD. PAR 4 - This is the hole that course designer Pete Dye has changed most dramatically since the 2005 tournament. The back tee was eliminated, and the hole was shortened by 80 yards. Players now can choose to try hitting a driver over a fairway bunker complex with overhanging trees. The green that now features water to the front and left since 2005 when this picture was taken.
Hole 17 • 215-YD. PAR 3 - A new tee complex now requires an over-water shot at some point during the tournament, this hole should be quite a scene Sunday. Bunkers to the left were eliminated and replaced by bulkheading, but the pot bunker on the right remains.
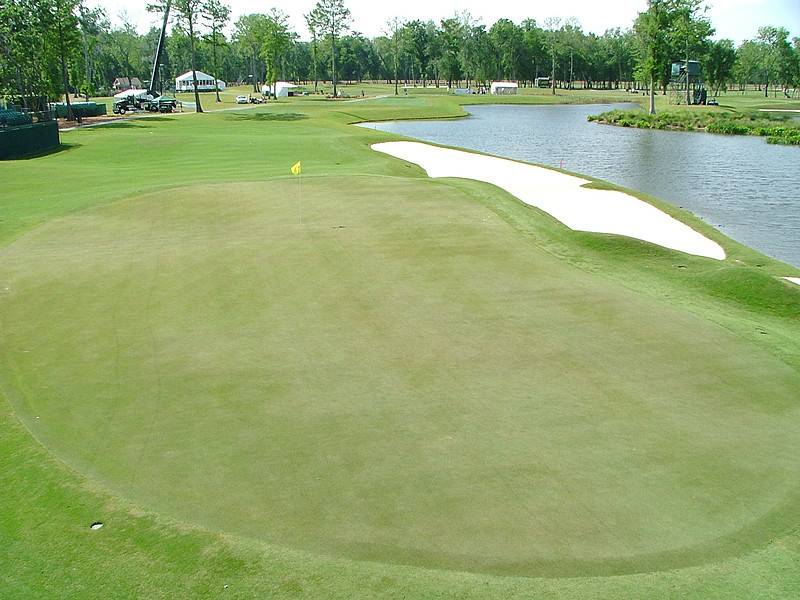
Hole 18 • 589-YD. PAR 5 - The finishing hole at TPC Louisiana has undergone several refinements because of player concerns about playability and length. The hole was shortened and the massive "skyscraper" bunker on the left side of the fairway has been reshaped.
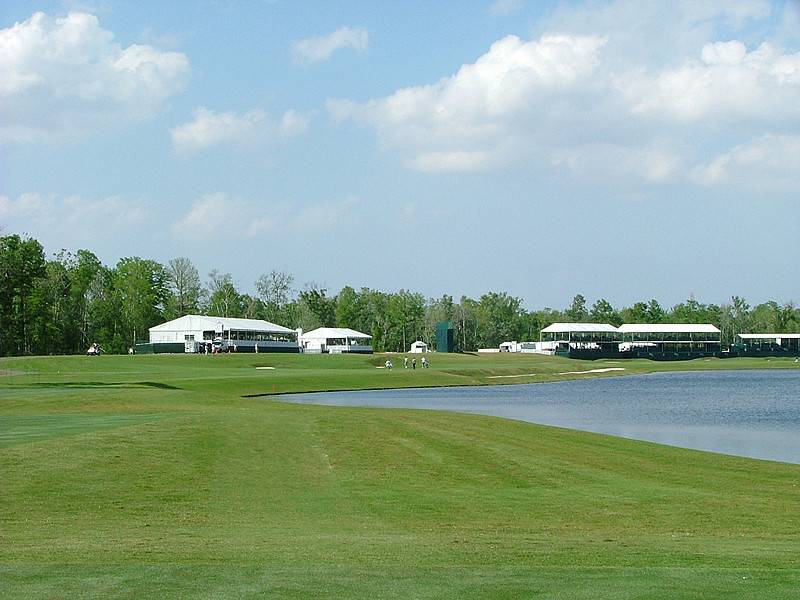
Hole 18 • Long second — This bunkering has been reshaped in 2007 as this picture shows the original pot bunkering from '05'.
Hole 18 • Layup — This bunkering has been reshaped in 2007 as this picture shows the original pot bunkering from '05'.
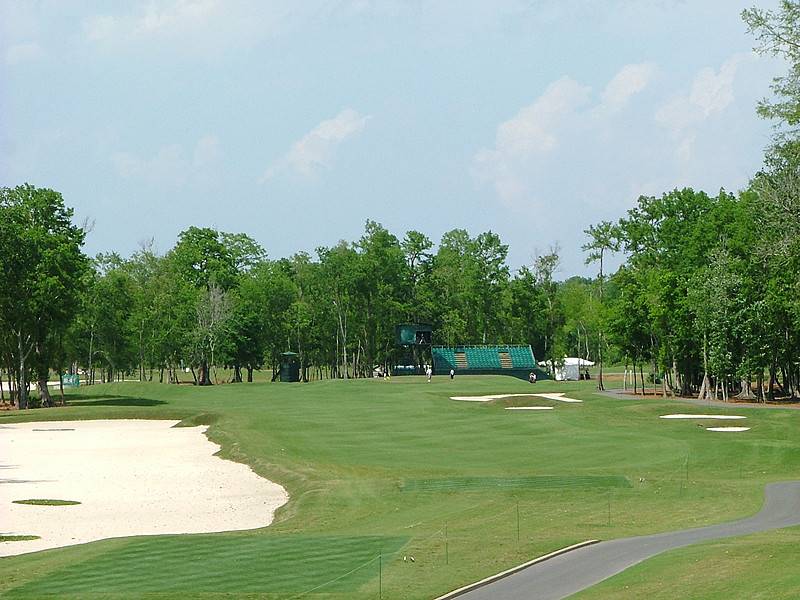
Hole 18 • Green - Here's the final from above the green and behind view before Dye modified the landing zone in the foreground of the picture to a green that is still pretty much the same .