
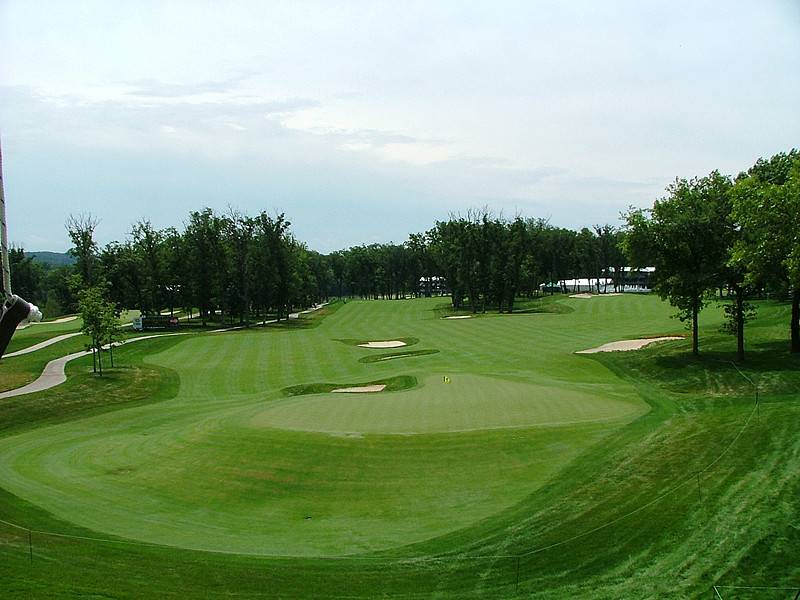
Hole 10 • Fairway View — The back nine opens with a demanding look down the hole, where position and angle matter before the approach into this scoring stretch.
Hole 10 • Green Looking Back — From behind the putting surface, the 10th shows how the hole plays back through the fairway and why the proper approach angle is so important.

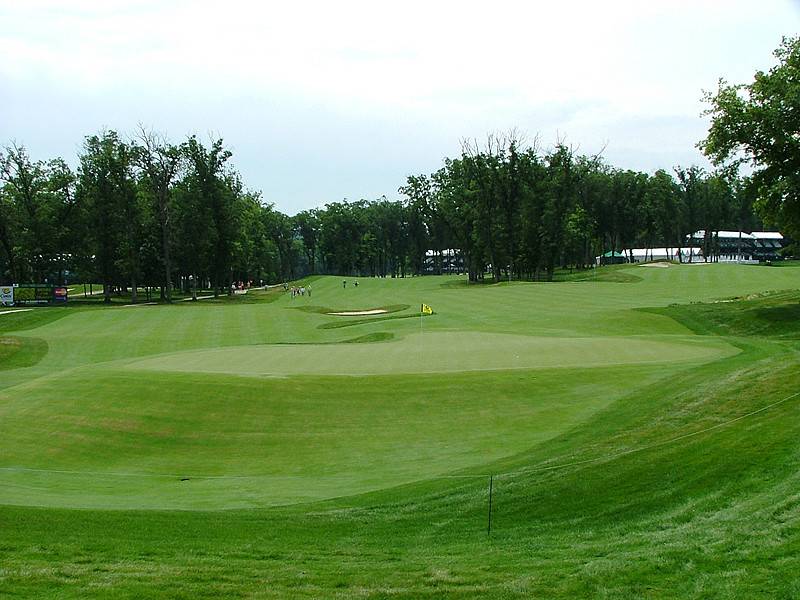
Hole 11 • Par 4 Green View — Looking back from the tower, the 11th shows the shape of the par 4 and the premium on finding the right landing area before attacking the green.
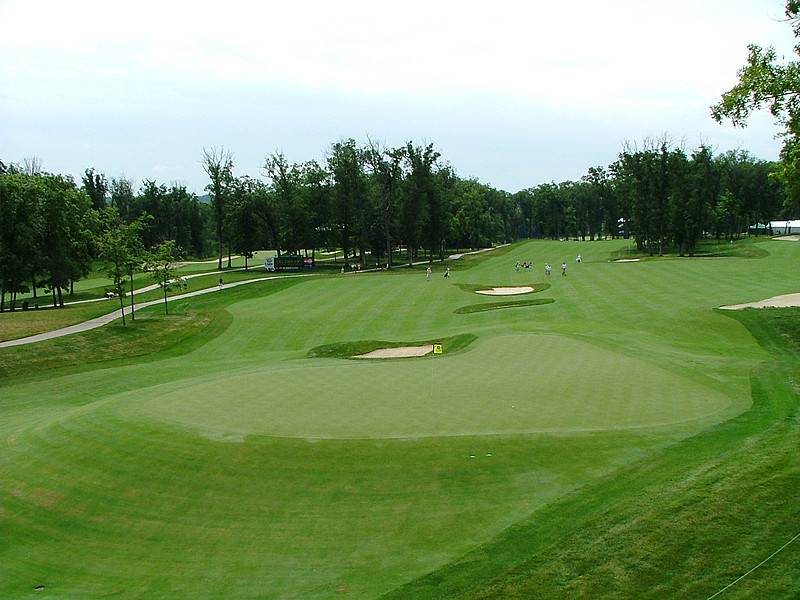
Hole 13 • Par 4 — This view captures the 13th as a par 4 that asks for a controlled tee shot and a clean angle into the green.
Hole 14 • From Behind — From behind the hole, the 14th shows how narrow the target can feel and why misses must be kept in the proper spot.
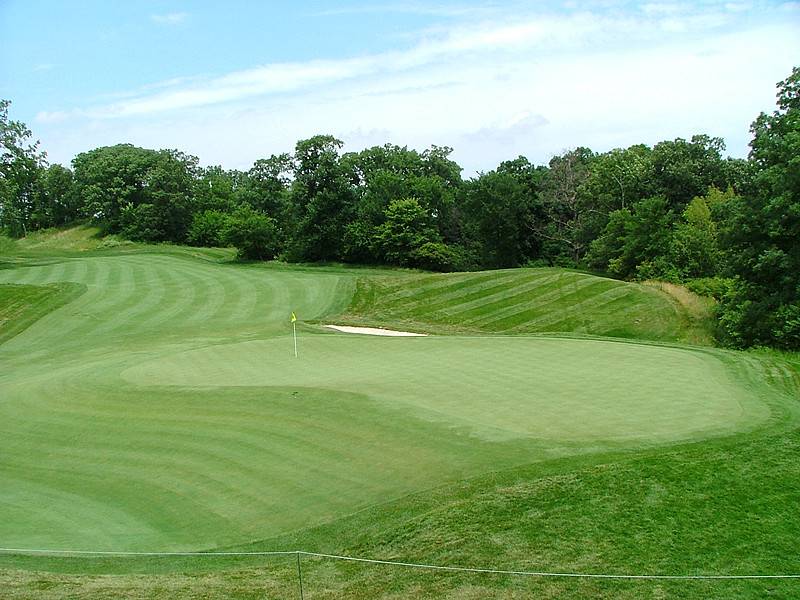
Hole 14 • Green Above and Behind — This elevated view shows the right-side falloff around the green, making misses to that side a difficult recovery.
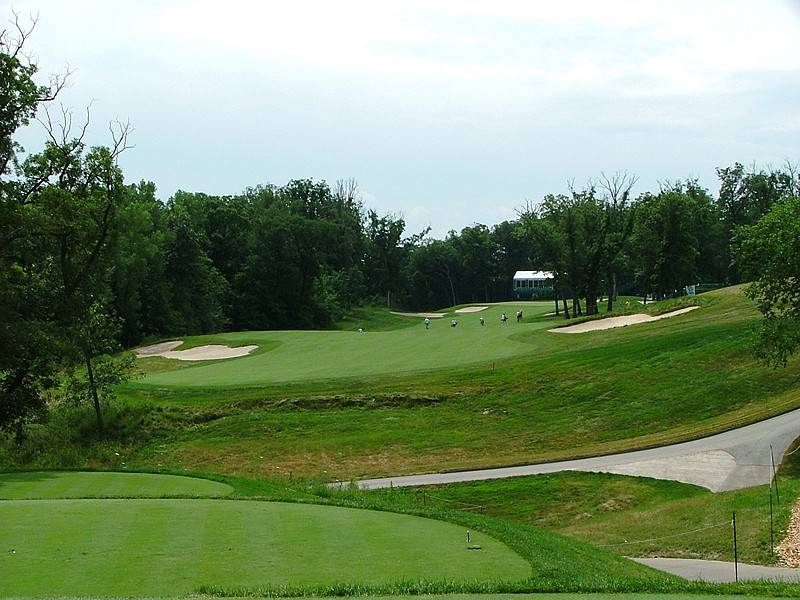
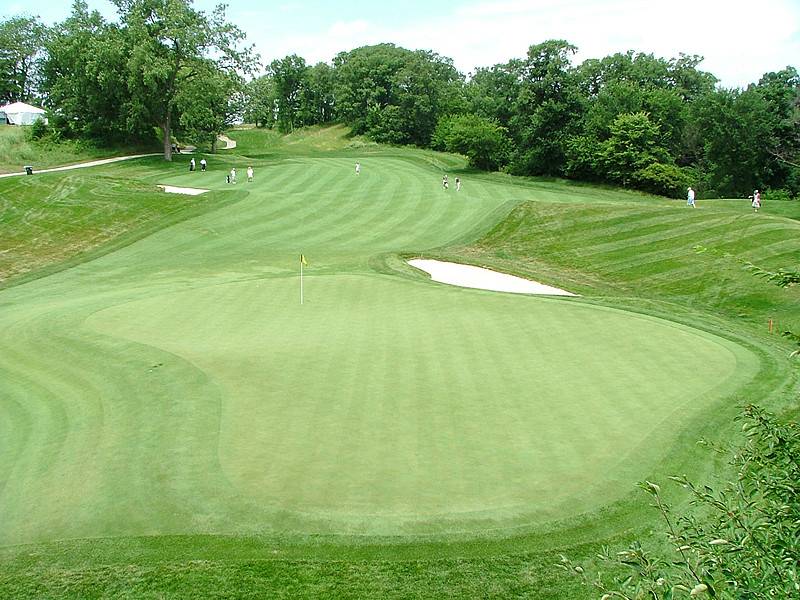
Hole 15 • Tee Shot — The par-4 15th begins with a tee shot that must find position first, setting up the approach into a green with trouble around it.

Hole 15 • Green Above and Behind — From above and behind, the 15th green shows the shape of the target and how quickly a slightly missed approach can leave awkward work.
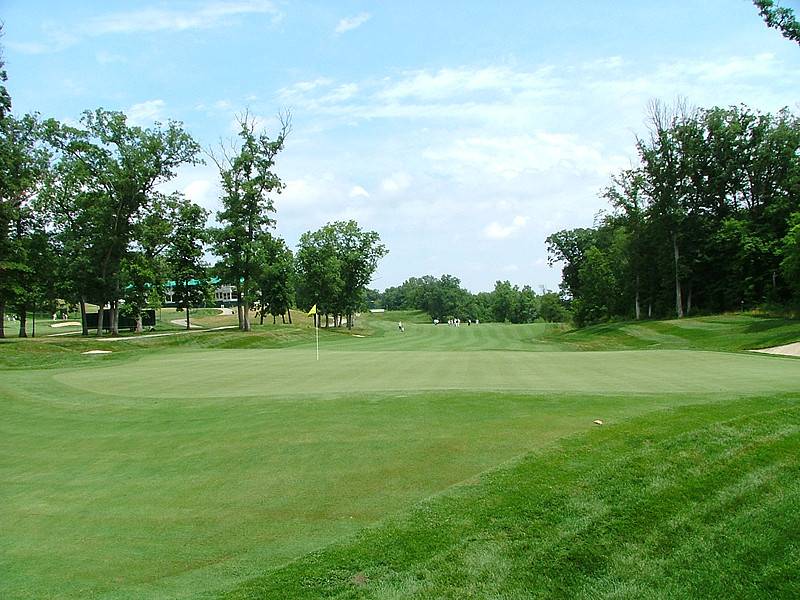
Hole 15 • Ground-Level Green View — From ground level behind the green looking back, the hole shows how the approach must be controlled into the proper section of the putting surface.
Hole 16 • Par 3 Above and Behind — Looking down at the green and back toward the tee, the 16th shows the full demand of the par-3 tee shot and the importance of distance control.
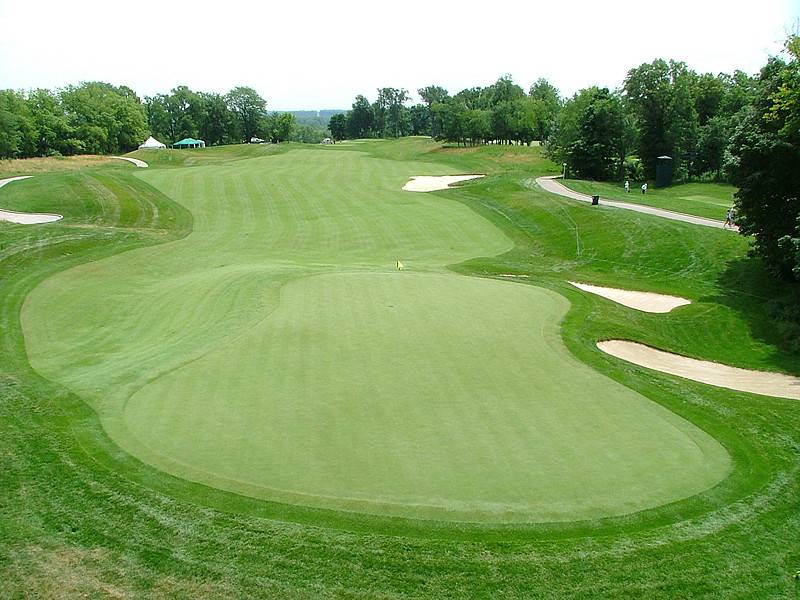
Hole 17 • Par 5 From Above — From above and behind, the 17th looks down the hole and shows the scoring opportunity, but also the need to keep the ball in the proper lane.
Hole 17 • Lower View Behind Green — This lower view from behind the green looks back through the hole and shows how much recovery trouble waits around the putting surface.
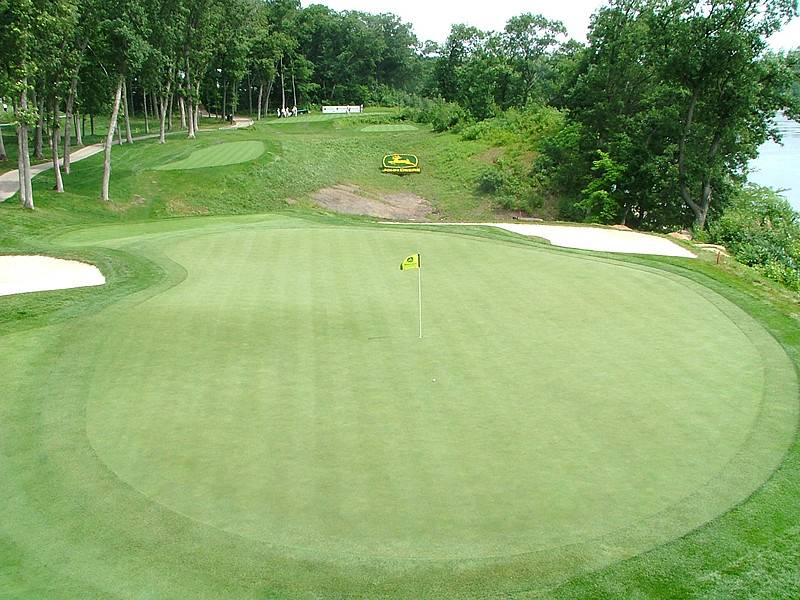
Hole 17 • Green Falloff View — From above, the severe falloff to the right and behind the green is clear, making the final approach on this par 5 more demanding than a simple wedge or pitch.
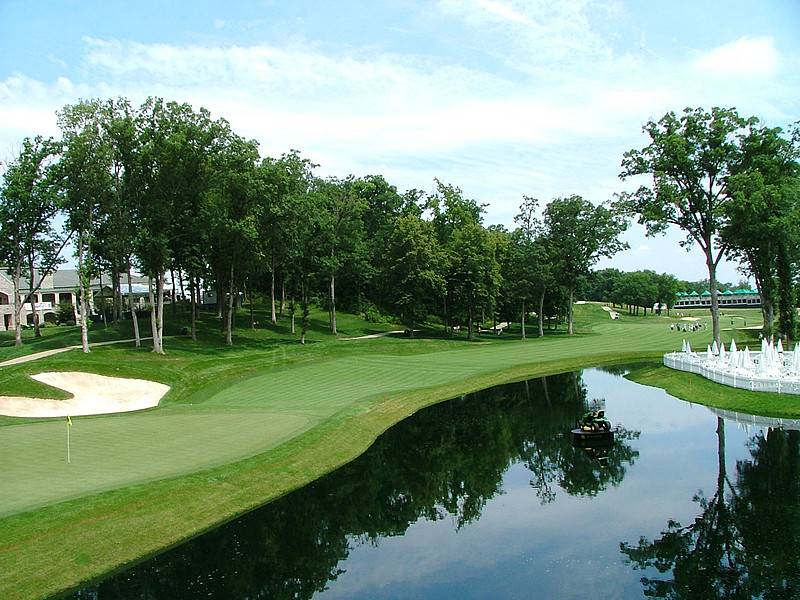
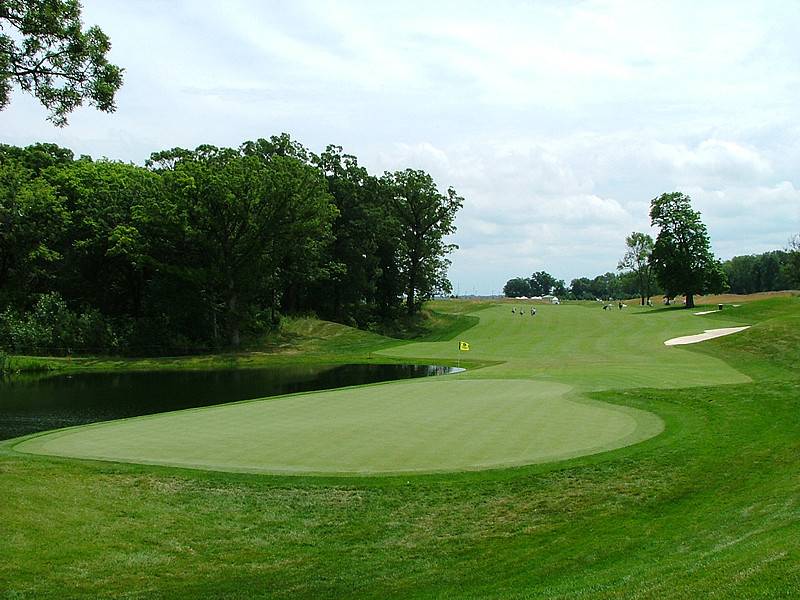
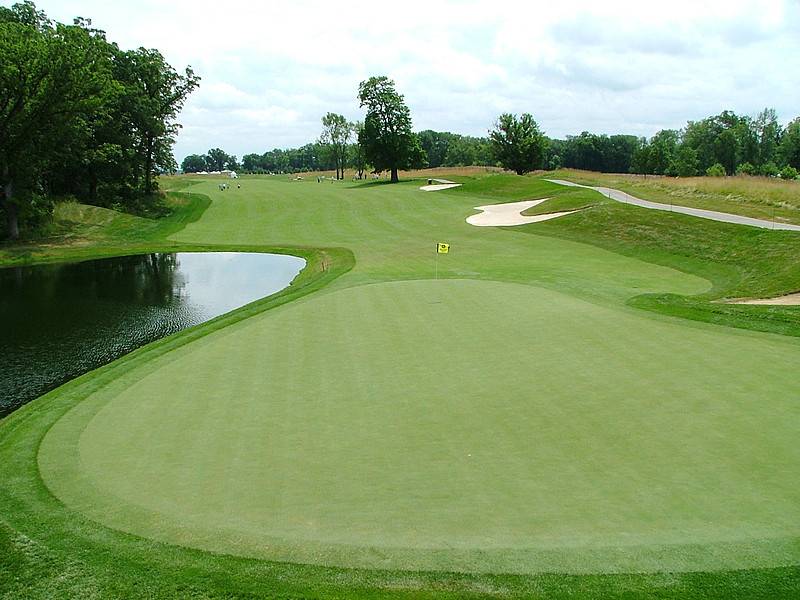
Hole 18 • Looking Back — The finishing hole is a baby dogleg right with a narrow landing area, and the water down the left side of the green makes the closing approach a real test.
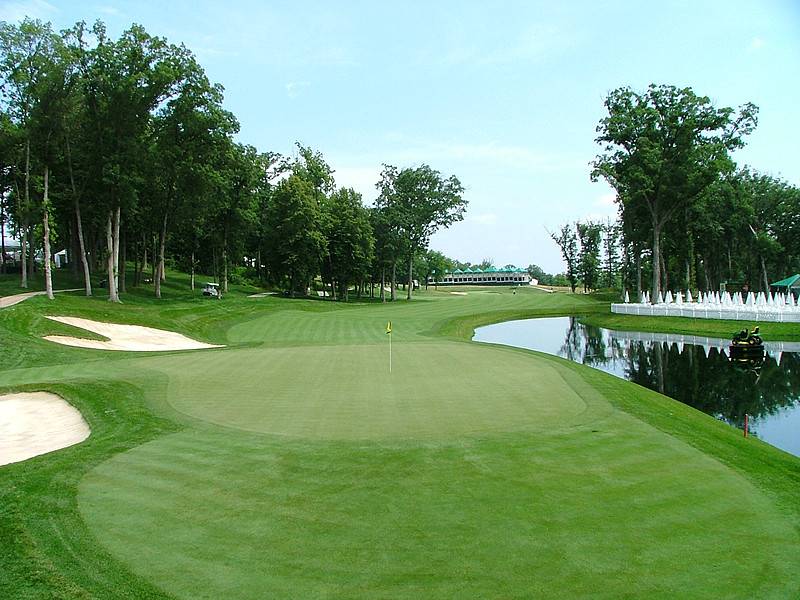
Hole 18 • Fairway Looking Back — From a more level view behind the green, the 18th shows the long, narrow putting surface and the fairway stretching back through the final hole.
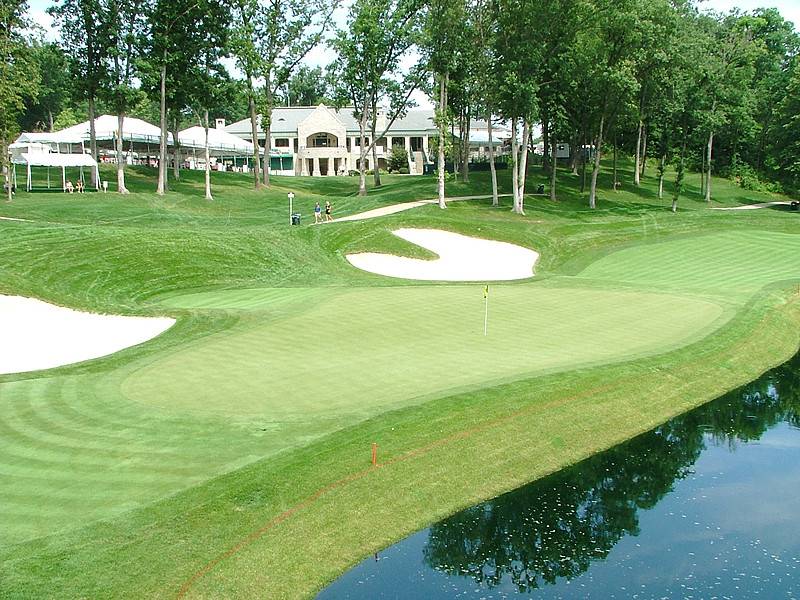
Hole 18 • Final Green — With a bunker back right and water all along the left, the last green demands a committed, accurate shot to finish the round.